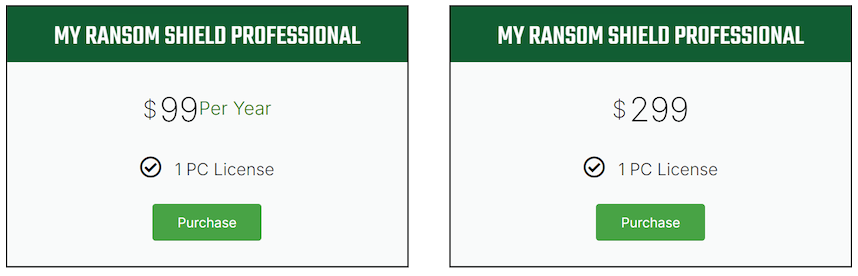
My Ransom Shield empowers MSPs with tailored solutions to drive sales and strengthen customer relationships. Each MSP will receive a dedicated landing page featuring SKUs customized exclusively for their business. MSPs have full control over pricing of these SKUs, with options for exclusive discounts through coupon codes. Any pricing set below the list price will require approval from Ransom Shield, LLC. Sales originating from the Ransom Shield main site will also be attributed to the appropriate MSP, with customer identification supported by name and email. Quarterly sales and commission reports will be delivered within 5 days of the quarter’s close, and MSPs can access real-time tracking of their performance through our secure portal.
As shown above, the My Ransom Shield sales portal allows each SKU to be sold as a one-time purchase. The pricing for this is three times the annual fee for a subscription. These prices can be discounted.
With the white-label solution, sales are managed exclusively by the MSP. Customers do not need to visit the My Ransom Shield website (or know it exists). MSPs have the flexibility to set their own prices for any SKUs listed on the main page. Custom SKUs are created for each MSP.
MSPs will be able to purchase software activation codes and will have the ability to specify how many licenses (PCs) each code will support. Once the install count maximum is reached for a given code, it will be rejected by the software. The system tracks PC installations by a unique hardware identifier for each PC. This means that re-installing on the same PC will not update the install count for the code used.
White-Labeled Software
For a small fee, MSPs can have their own custom branded software that utilizes their logos, color schemes, and custom product name.
White-labeled software will also include an online user guide, plus links to MSP-defined contact URLs. White-label branding of the external enclosure will also be available Q1 2026. For more information about white labeling My Ransom Shield, please contact us.
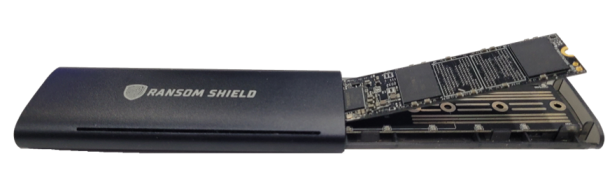
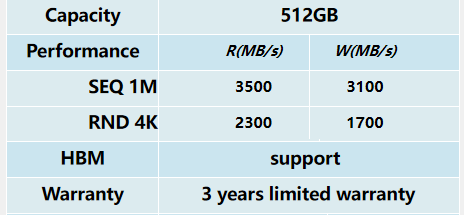
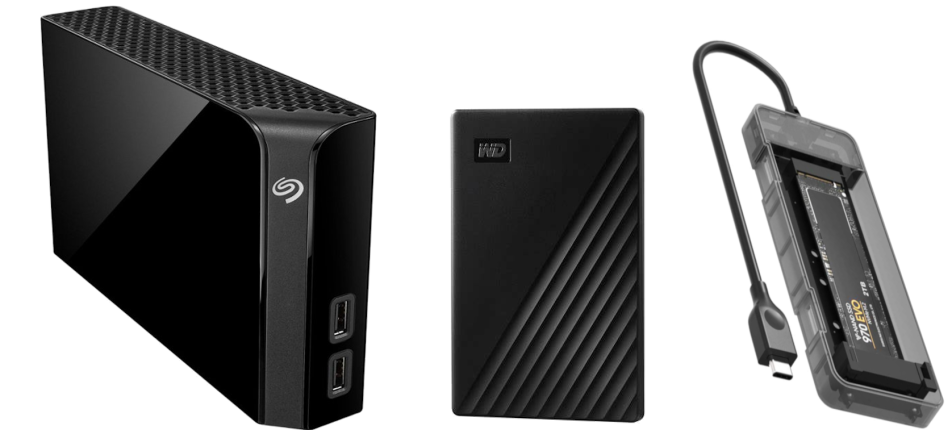
Ransom Shield will begin selling external hard drives in the first quarter of 2025. The initial price will be $150 for a 512GB device. A 1TB SKU will be available in the 2nd quarter. Even though the Ransom Shield solution supports most external USB devices, it will be highly recommended to sell the device offered by the Ransom Shield site. This device has a USB 3.1 interface containing an NVMe drive. It was selected because it's very fast and has now been well tested with the Ransom Shield solution. An additional benefit is that the device is toolless, meaning the NVMe drive can be removed from the enclosure and replace the internal drive (on systems that support NVMe drives).
The shipping drive will NOT be branded with the Ransom Shield logo. For a small charge, we may be able to customize the branding with your company name and logo.
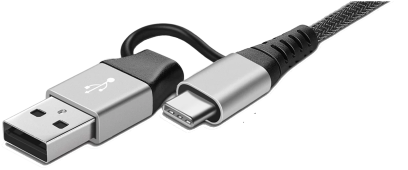
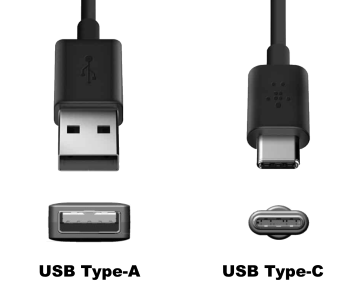
The Ransom Shield device will also ship with a USB cable that supports both USB-A and C connections.
3rd Party Devices
If the choice is made to purchase 3rd party external devices, there are 3 primary considerations to consider.
Device capacity, device connectivity, and device form factor.
Device Capacity
The backup device needs to be large enough to contain all the system files and data on your PC.
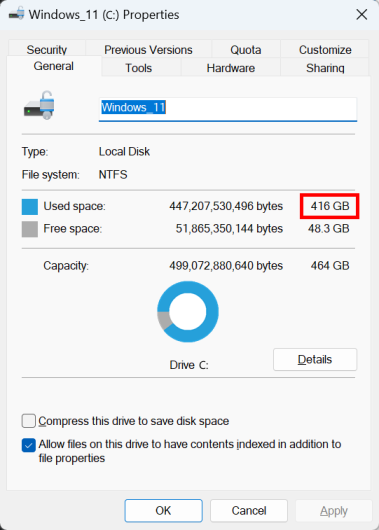
A basic check of the used space will give you the information you need.
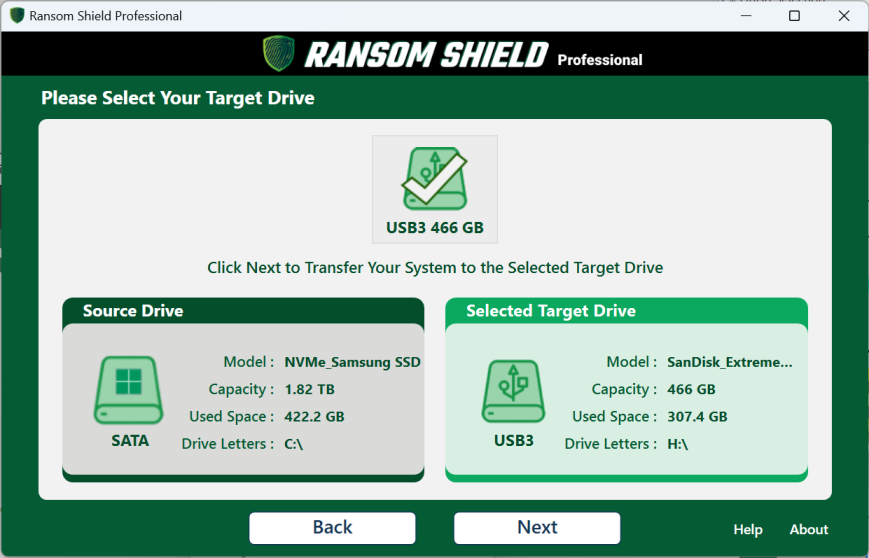
In the example above, Ransom Shield would support a 512GB drive for this system. There would not be much free space left, so you might want to consider a larger 1TB drive.
Device Connectivity
The types of USB ports available on your PC will determine the speed of your backup device. Type-A ports are available on older PCs and allow slower USB 3.0 connections. Type-C ports are on most newer PCs and allow faster USB 3.1, 3.2 and 4.0 connections.
Faster connections mean faster backup times and faster boot times when running from the backup drive. Adapters can be used to connect USB 3.1 and higher devices to USB 3.0 ports, but the device will always run at the slowest connection speed.
USB 3.0 USB 3.1 USB 3.2 USB 4.0
5Gbps 10Gbps 20Gbps 40Gbps
Device Form Factor
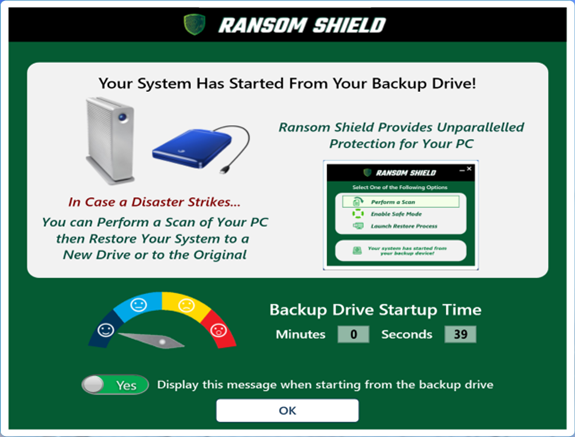
If malware infects your system drive, the best practice is to remove and dispose of the physical drive from the PC. You can continue to work indefinitely by booting from your external Ransom Shield drive.
Once you replace the infected drive with a new clean drive, you can restore your PC from the booted backup drive to the new drive. Ransom Shield allows you to launch a restore process with just a few clicks. When this process completes, you can restart and run from your new internal drive.
Some users may want to immediately replace their infected system drive with their backup drive. To do this, you would need to remove the backup drive from the external enclosure, open the PC, then install it as a replacement drive.
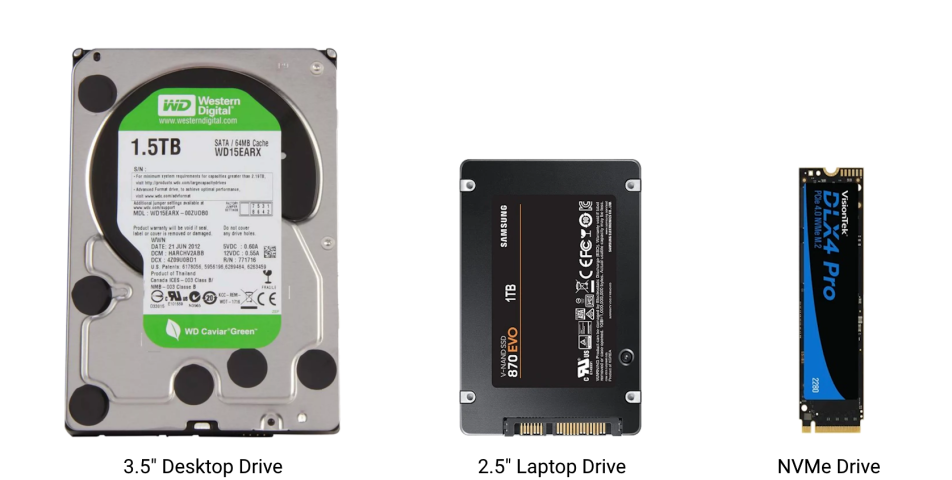
If your disaster plan involves using the external drive as a replacement drive, you will need to ensure that the form factor of the backup drive matches the system drive.
Systems with NVMe drives would need an external NVMe drive, and so forth.
Please note that Ransom Shield does not require the same form factor of backup drive. This is only necessary if you want to replace your system drive with the backup drive in the event of a disaster. Most users will not need this as the booted external drive can restore to a new internal drive irregardless of the drive form factor.
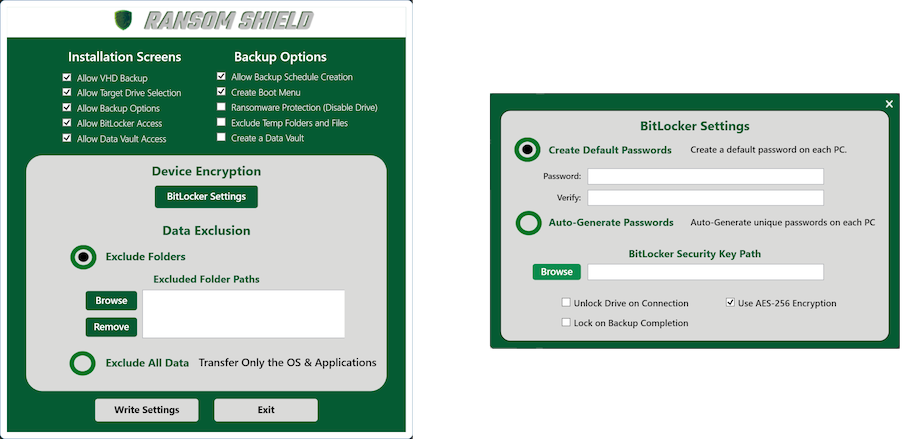
The installation steps below document the default behavior of a typical My Ransom Shield software install. Custom installs are available with the Ransom Shield Admin Console. Please reach out for more information as this tool allows removing features, settings defaults, and silent installs.
Ransom Shield Admin Console
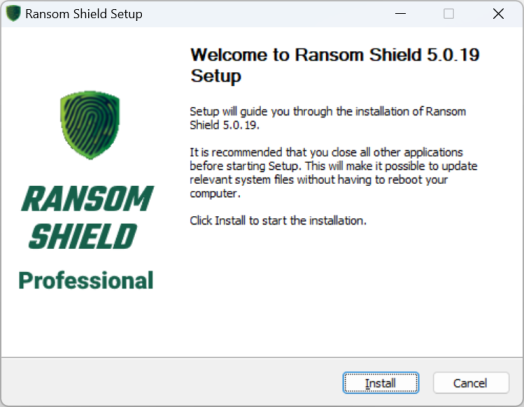
The Welcome Message is displayed when Ransom Shield is initially launched.
Click the Install button to begin.
Please note that the following steps are only required during installation.
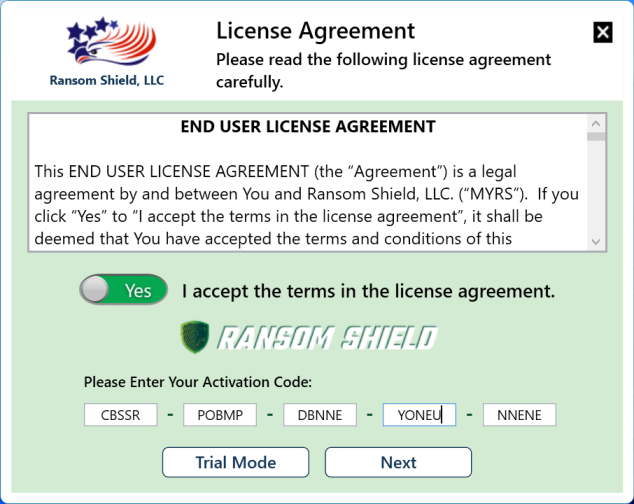
Enter your Ransom Shield license key you received with your purchase. You can copy and paste here rather than typing each character separately.
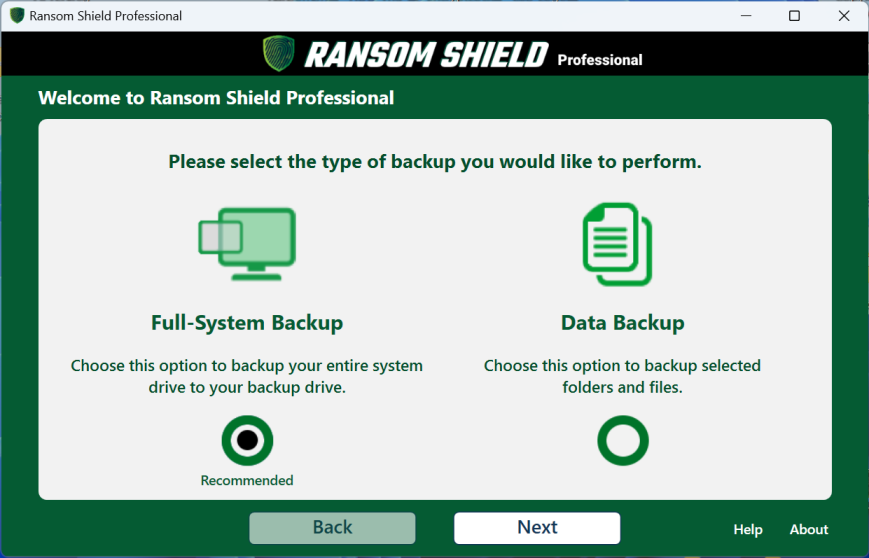
Leave the default selection for creating a full-system backup, then click Next.
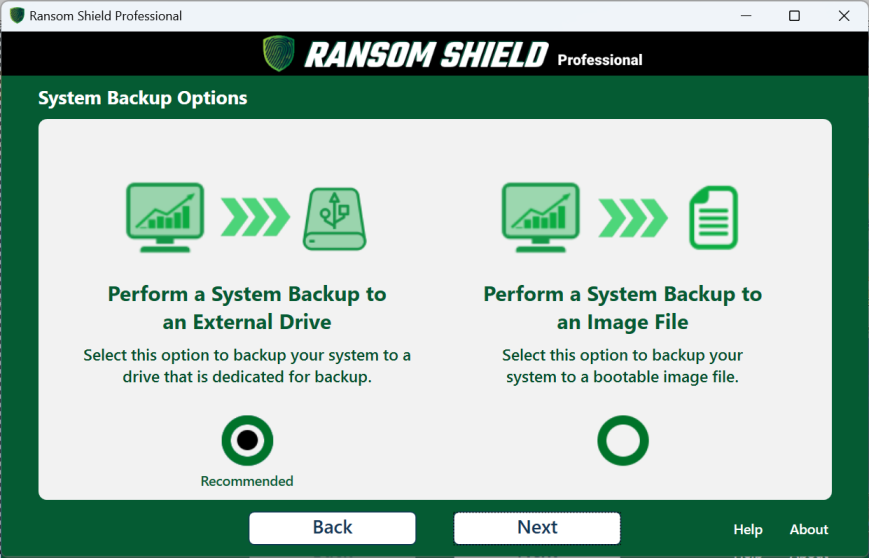
Leave the default for backing up to an external drive, then click Next.
Connect your backup device. Ransom Shield will automatically select it, then click Next.
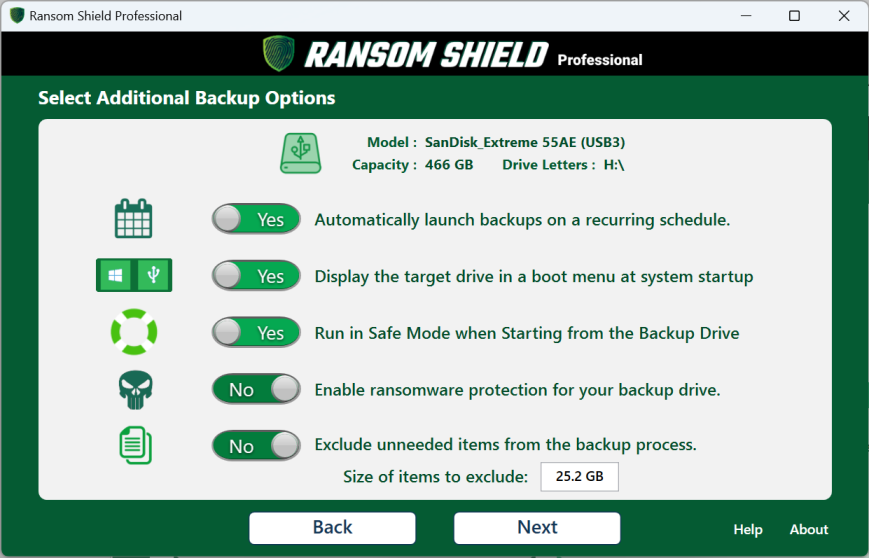
Choose backup options. If you would like to create backup schedules, click Yes for the first option. Displaying a boot menu at startup will give you easy access to starting from the backup drive. It is also recommended to enable Safe Mode booting from the backup drive as a defence against malware strikes. Unneeded items include internet temp folders, browser cache folders, and temp folders and files.
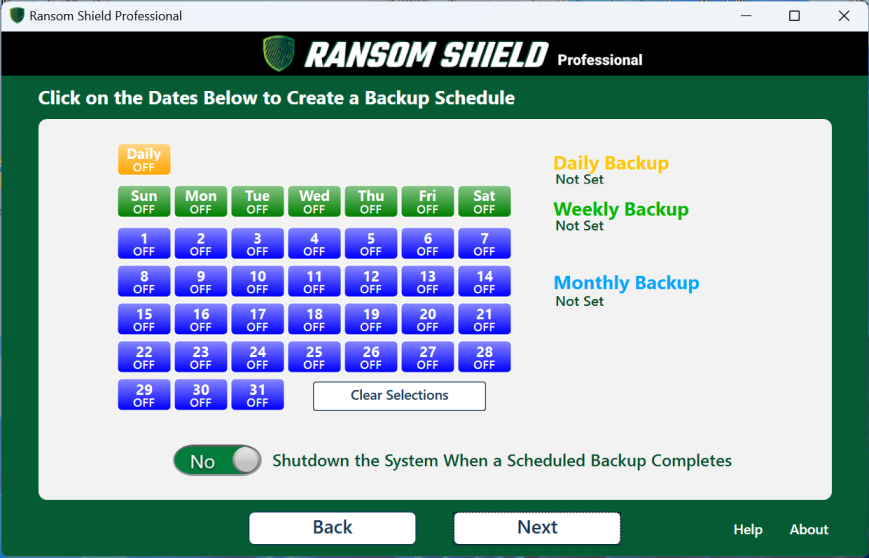
If you selected to create recurring backup schedules, click on any of the colored cells. Orange for daily backups at a set time, green for weekly, and blue for days of the month. You can also select to have your PC automatically shutdown when the scheduled backup completes.
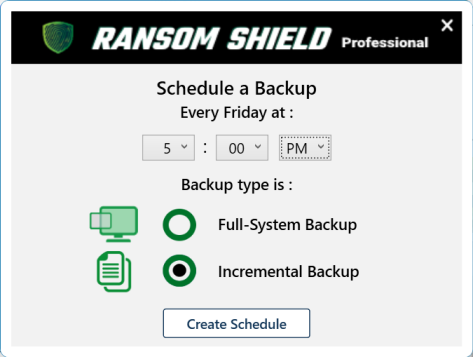
Clicking a colored cell allows you to set the start time for your backup. You also have the option of backing up only the changes since the previous backup, or performing a full-system backup of everything on your PC.
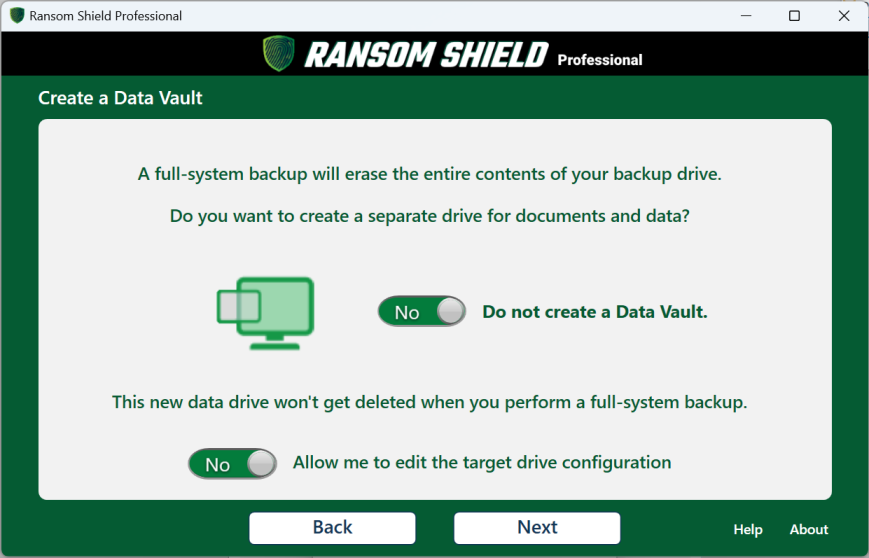
Data Vaults allow you to store data on the backup drive that does not exist on the internal drive. Most users will leave the default option here to not create a vault and click Next.
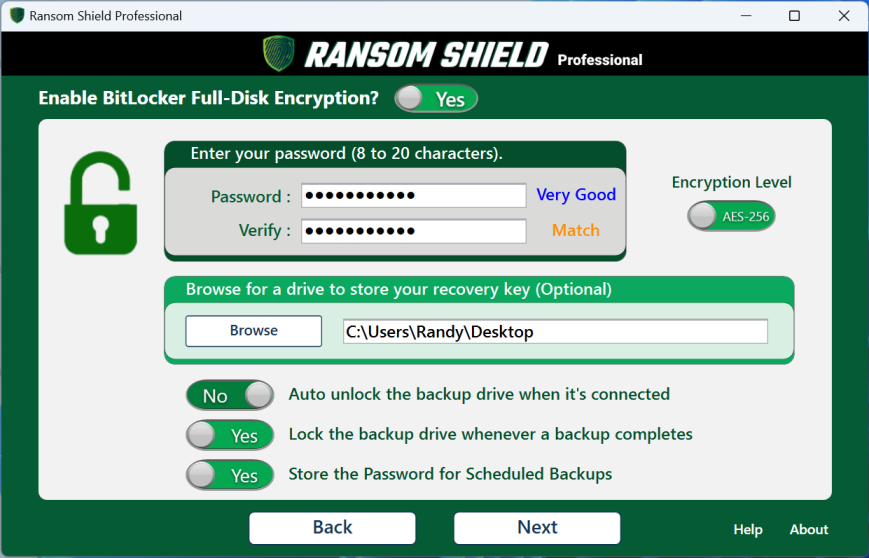
If you would like to encrypt the backup drive, select Yes on the following screen. You can optionally create a recovery key in case you forget the password. If you want to schedule backups to encrypted drives, select Yes to store the password. This is needed to automatically unlock the drive. The password is stored encrypted.
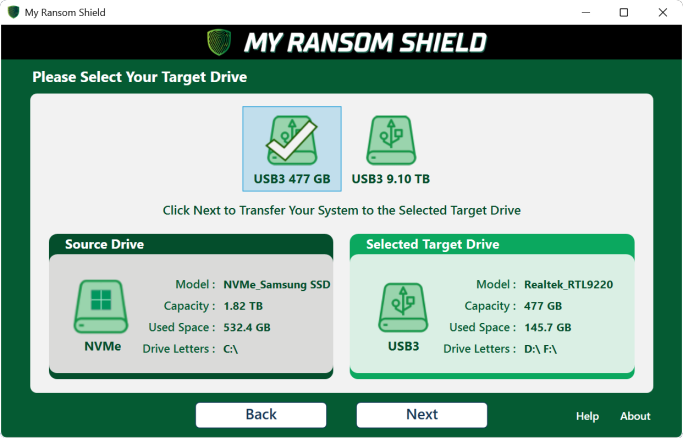
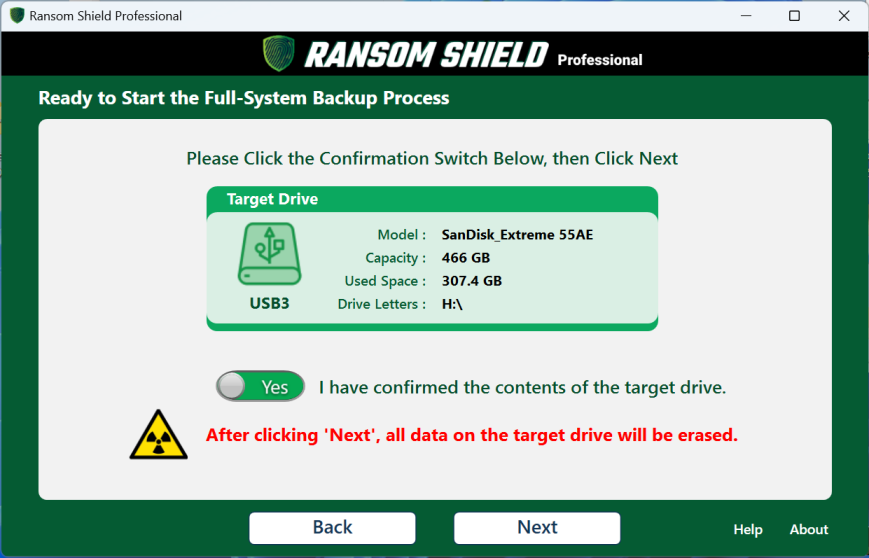
Confirm that the target drive for your full-system backup is correct and click Next.
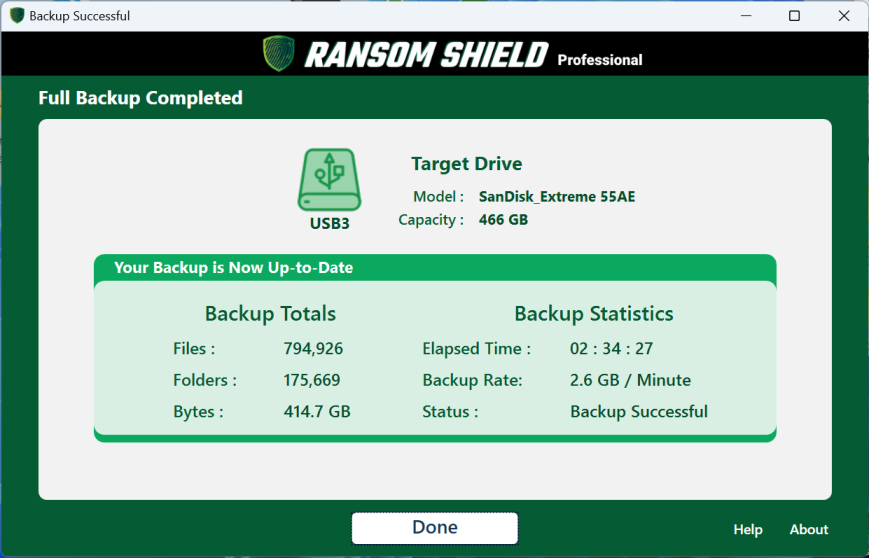
After formatting your backup drive, all your data will be transferred.
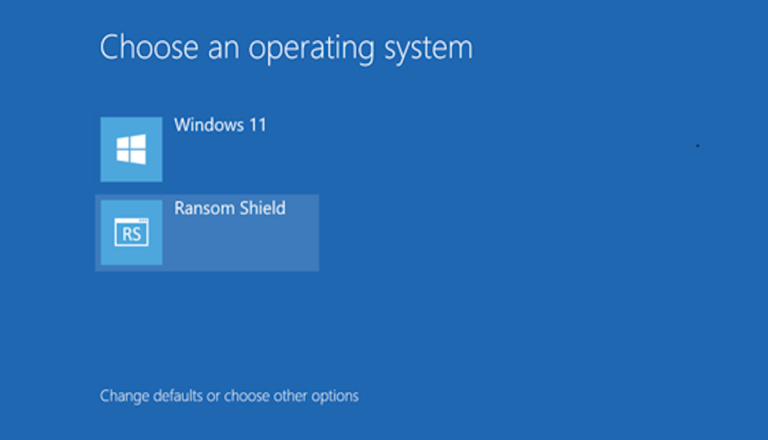
If you selected to create a boot menu, you will be given the opportunity to start from the backup drive after every reboot.
The installation process can be streamlined to set default options and remove unneeded features. Please contact us for more details.
The complete Ransom Shield software guide can be accessed here: